Now that we’ve gone over the basics of Microsoft Teams, let’s talk about setting up your account and getting you started on your Microsoft Teams journey.
Registering Your Account
With Microsoft Teams, it’s easy to get your account started.
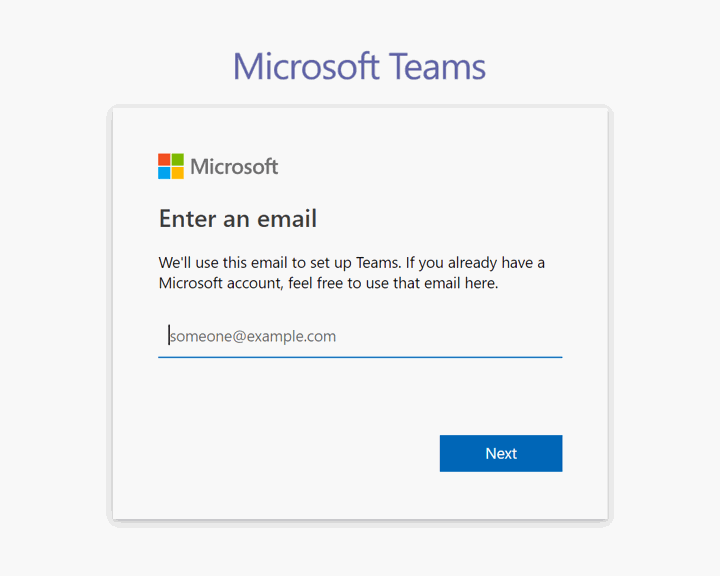
First, navigate to the sign-in page. This can be on your web browser or on the Microsoft Teams app (mobile or desktop). Put in your email, and then fill out your first and last name as well as your company’s name. And that’s it—you’re done!
Setting Up Your Account
Once your account is set up, you can move onto more specific settings to personalize your account.
Your Settings can be accessed at the top of the page in a drop-down under your profile image or initials. From there, you can customize your Teams experience in many different ways.
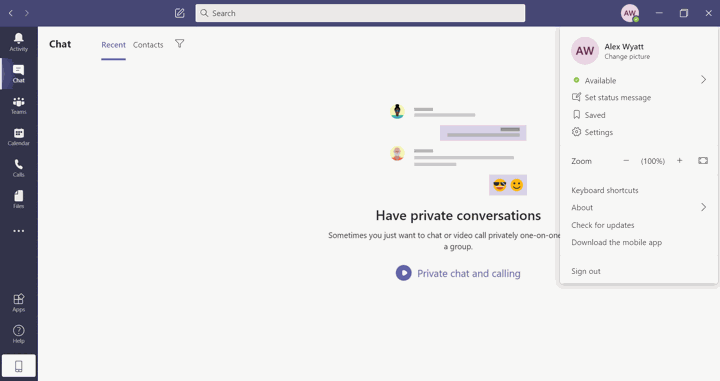
Under General, you can choose your Teams theme, select how you want the app to behave on startup and in the background, and set your default language.
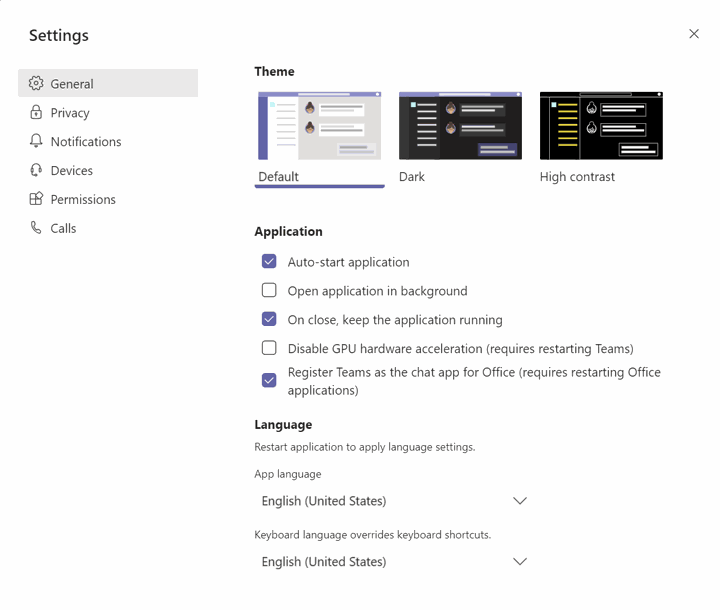
Under Notifications, you can decide how you want to receive alerts for different alerts, whether that be in-app or by email.
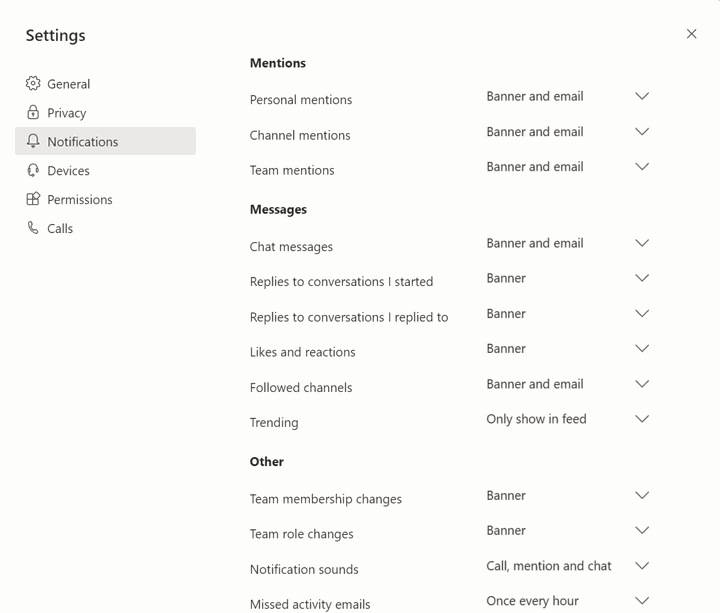
Other settings, such as ringtones and the microphone and webcams you want to use for calls, are accessible under Devices and Calls. Lastly, you can customize the data Microsoft Teams can access under Permissions.
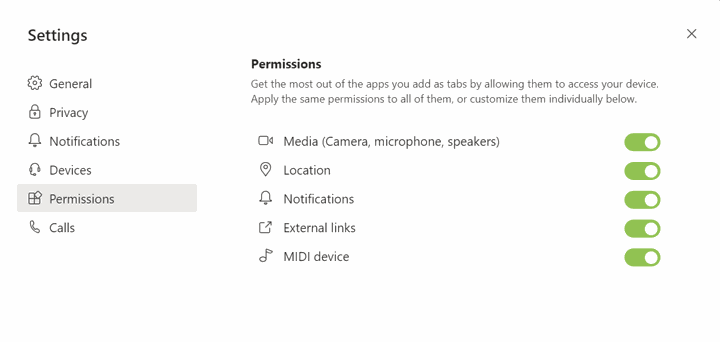
Now that you’ve gone over the settings to your liking, let’s talk about your profile.
Personalizing Your Profile
Microsoft Teams doesn’t offer a lot in terms of profile customization, but there are many simple ways to make your account your own.
The easiest way to personalize your account is by adding a profile picture. This can be done under the same drop-down we mentioned earlier; simply click on Change Picture and upload the picture you want.
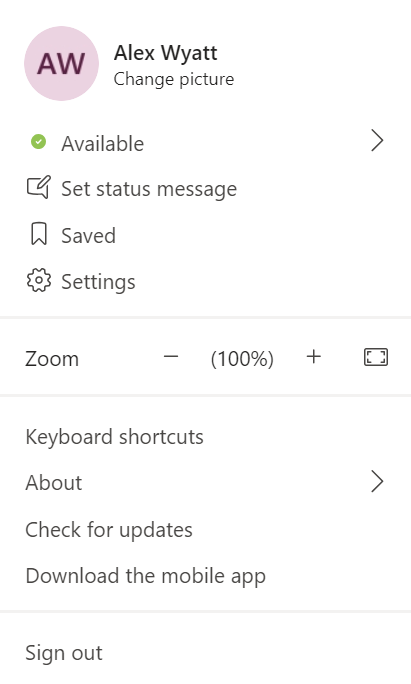
Furthermore, there are other ways to customize how you interact with others. Under that drop-down, you can also set a status message that will show up when people hover over your profile as well as an availability status, so your colleagues have a better idea of what you’re up to.
Adding and Creating Teams
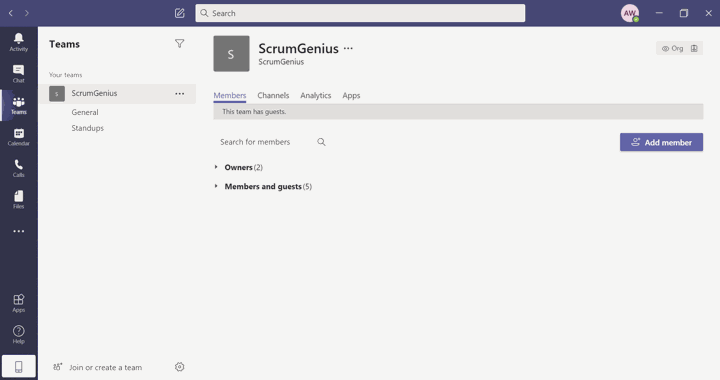
Creating a new team in Microsoft Teams is easy. First, navigate to the Teams button on the left-hand sidebar and then click Join or Create a Team.
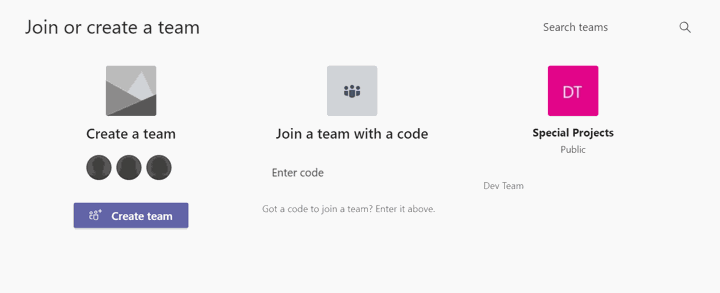
From there, you can either use Search teams in the top-right corner to search for any pre-existing teams within your company, Join a team with a code if you have one available, or click Create Team to build a new one.
If you’d like to create a completely new team, select Build a Team from Scratch. If your organization has any pre-existing teams or Office 365 groups, you can use them as a template for your new group under the Create From option. If you need more information at any point during this process, you can click on What’s a Team? to open a Microsoft support page for more details.
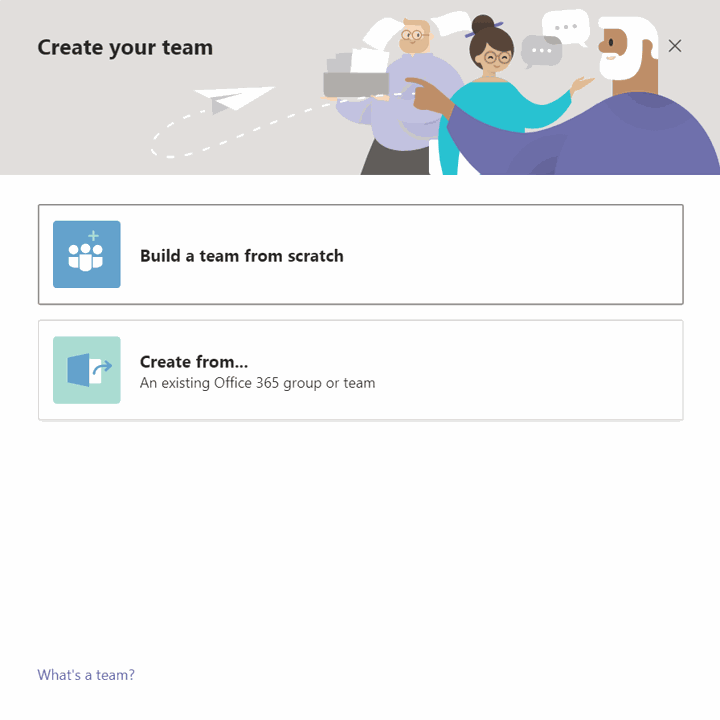
Once you’ve gone over these steps, it’s time to customize your team details. If you want this team to be searchable and open to everyone in your organization, you can select this as a Public team; otherwise, if you’d like to limit who can view or join this team, you can make it Private.
Next, choose your team name. You can also add an optional description with any necessary information. All of this information can later be changed by clicking the dots next to your name and selecting Edit Team.
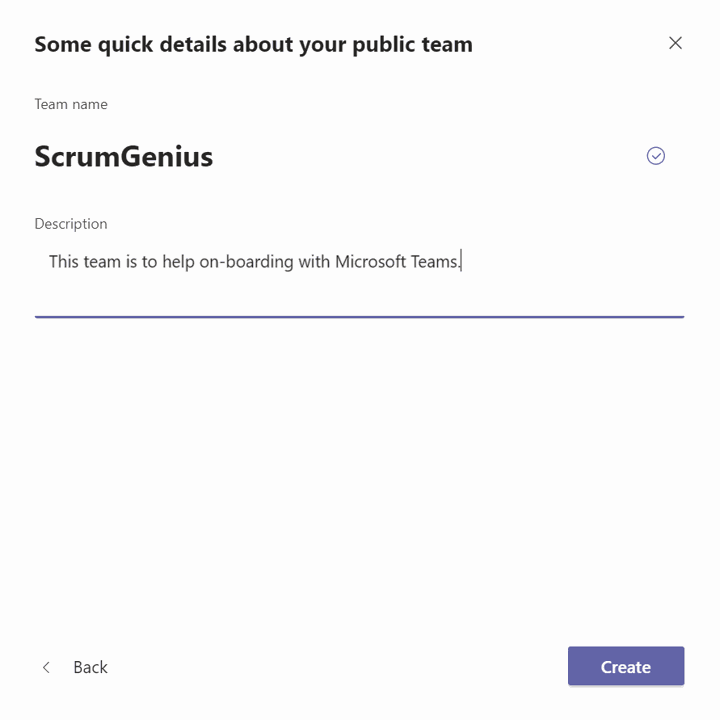
Now that you’ve done everything, select Create and you’re done!
Let us know if there's anything you want us to focus on and cover in this series. Our next part will be on messaging in Microsoft Teams.
